
いつのまにかPythonが3.10になっていたのでインストールする回。
ついでにVSCodeのインストールとか設定を残しておこうという魂胆。
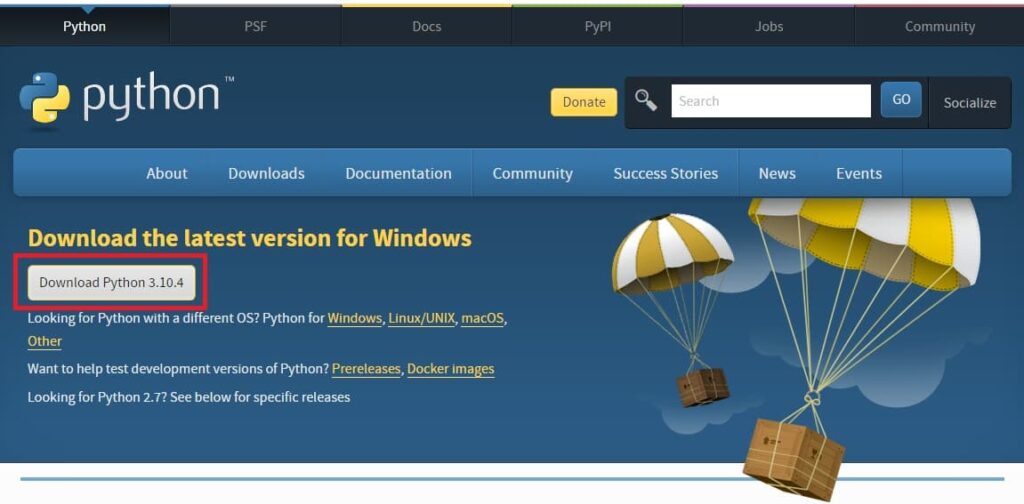
Python3.10のインストール

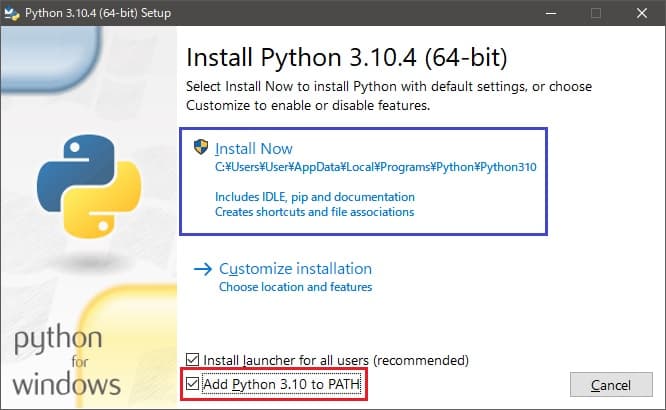
インストールが開始されます。そのまま待機。
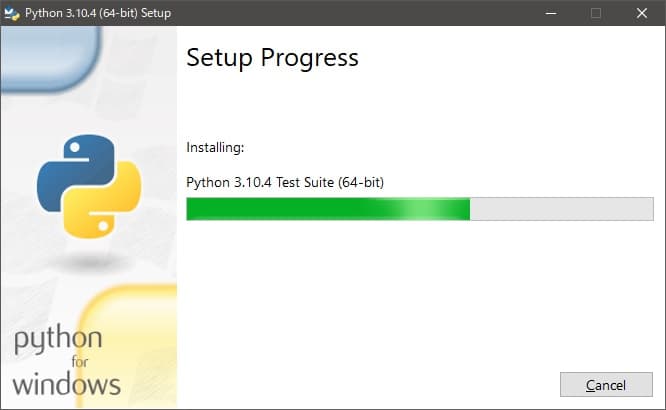
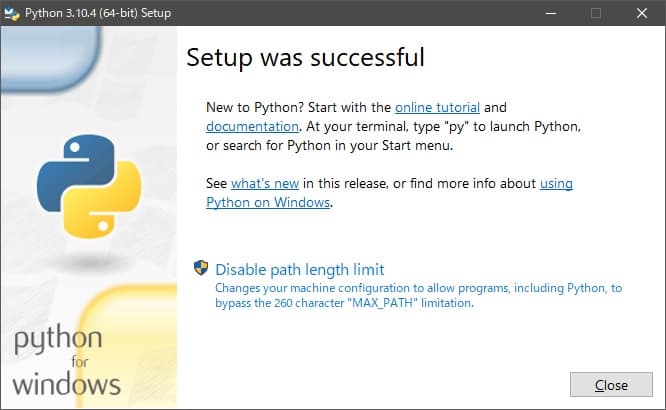
インストールが完了するとこんな画面が表示される。
Pythonの動作確認
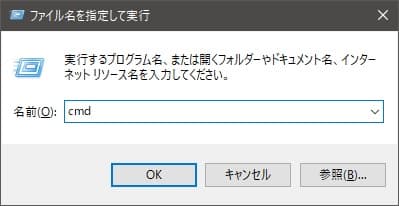
ちゃんとインストールできているかコマンドプロンプトでPythonを起動してみます。
「cmd」と入力してEnterキーを押すと、コマンドプロンプトが起動します。
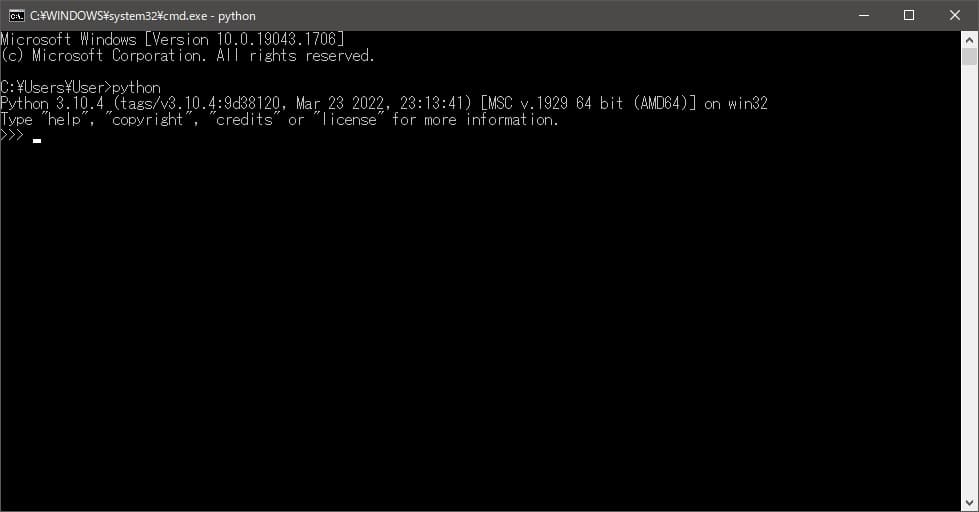
こんな感じでPythonが実行されてメッセージが表示されていればOK。
Visual Studio Code のインストール
VisualStudioCodeのダウンロードページから最新のインストーラーをダウンロード
この記事を書いている時点の最新バージョンは「1.67.2」でした。

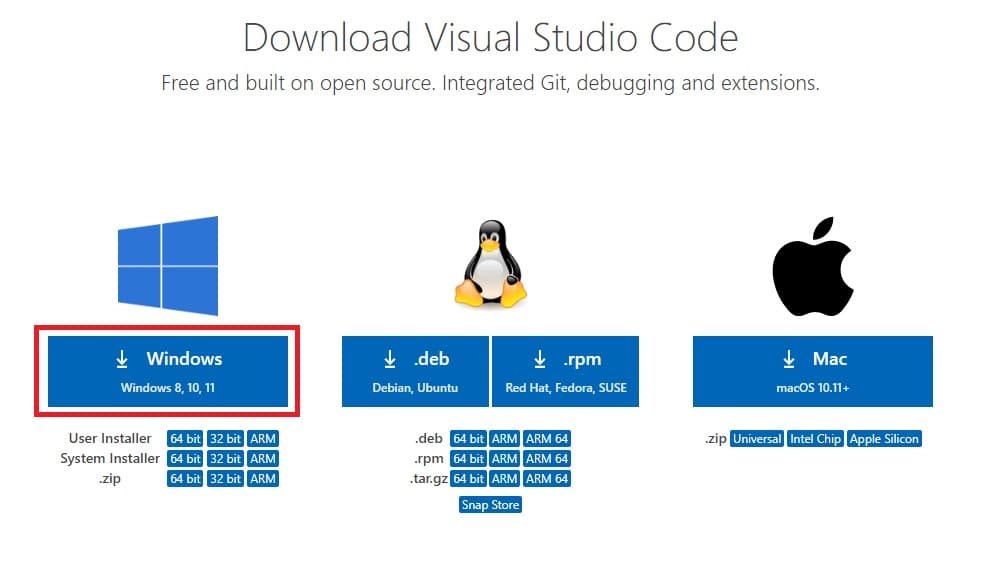
赤枠のボタンを押すと自動でインストーラーのダウンロードが開始されます。
ダウンロードしたインストーラーを実行
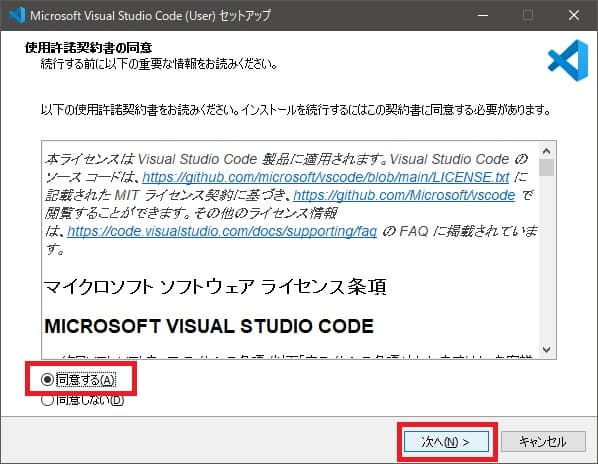
「同意する」を選択して「次へ」
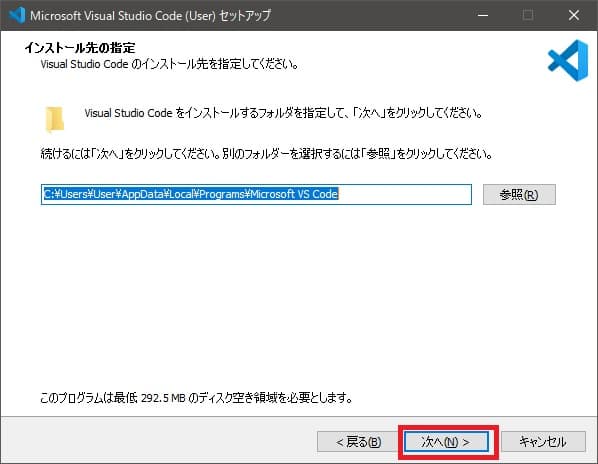
「次へ」
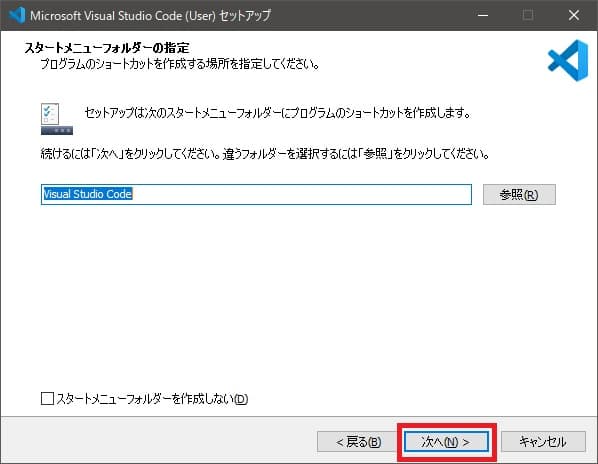
「次へ」
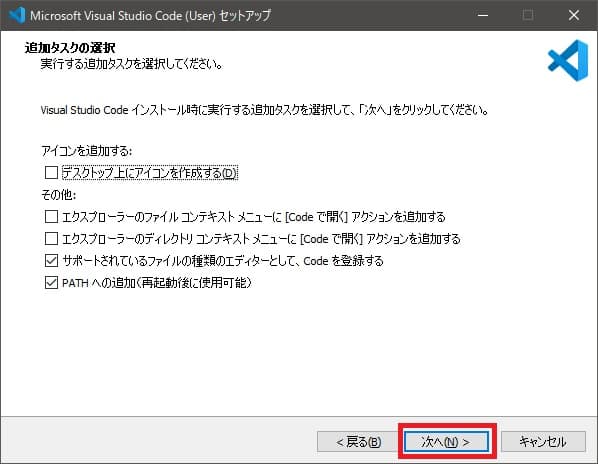
お好みで「デスクトップ上にアイコンを作成する」にチェック
(デスクトップにVSCodeのショートカットができる)
「次へ」
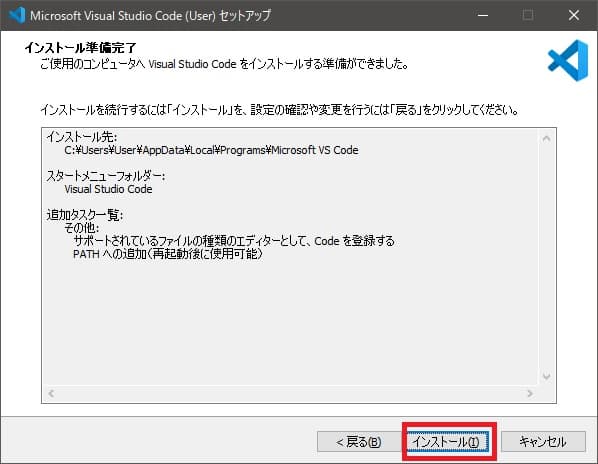
「インストール」
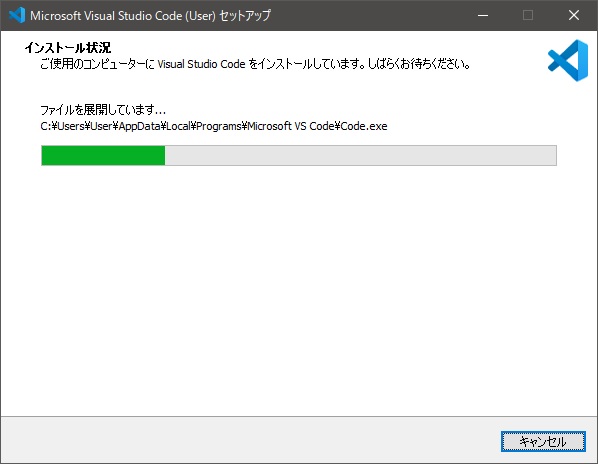
インストールがはじまる。ちょっと待つ
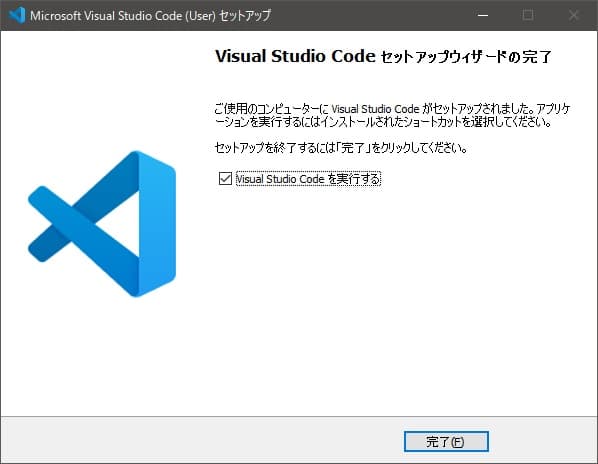
「完了」をクリックするとVisual Studio Codeが起動する
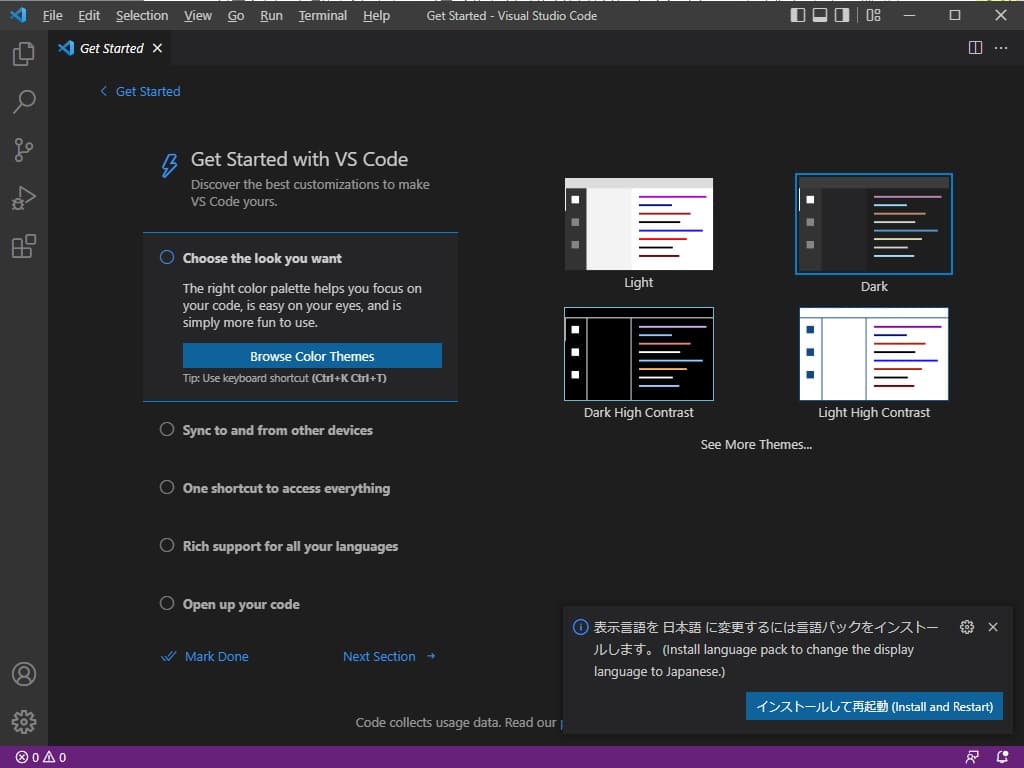
Visual Studio Code の日本語化
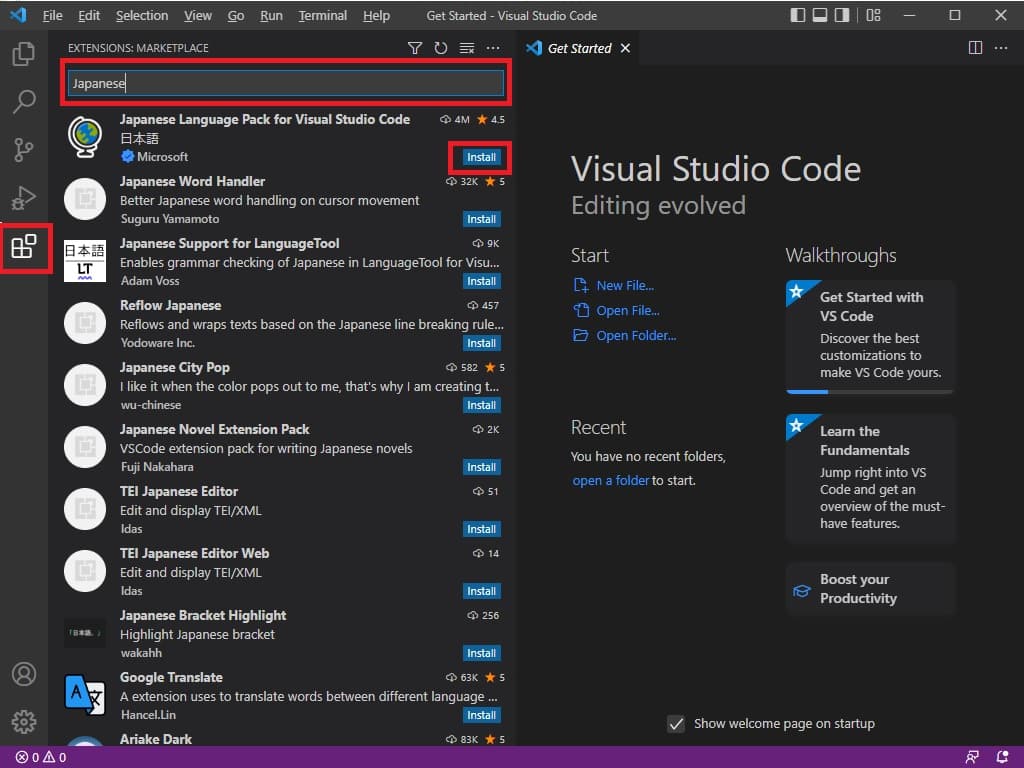
- 左側の「Extentions」アイコンを選択
- 検索ボックスに「Japanese」と入力
- でてきた「Japanese Language Pack for Visual Studio Code」の「Install」ボタンをクリック
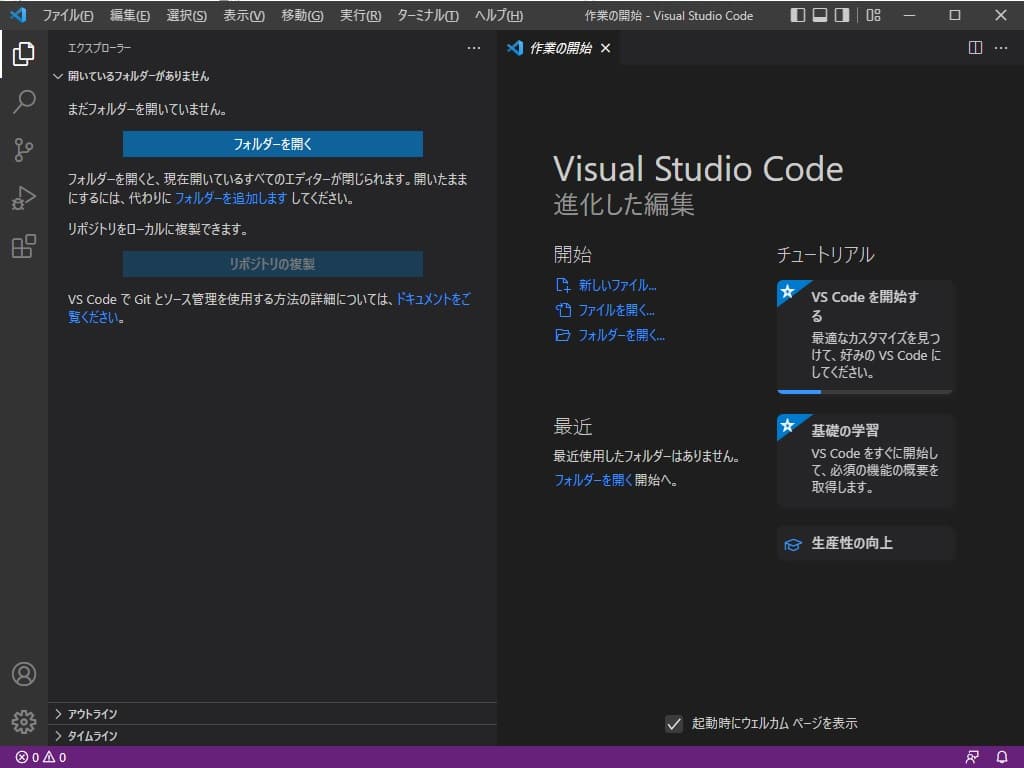
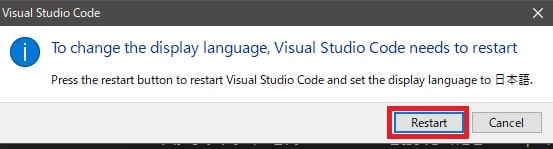
Visual Studio Codeを再起動すると日本語に切り替わる。

Visual Studio CodeのPython環境設定
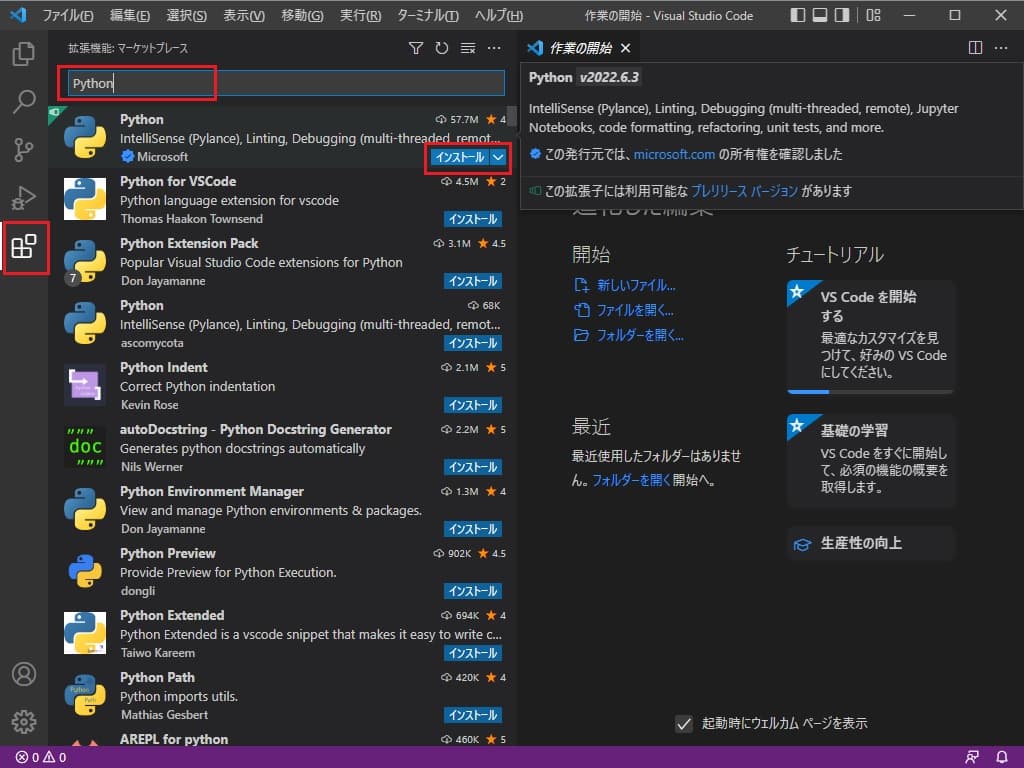
- 左側の「拡張機能」アイコンを選択
- 検索ボックスに「Python」と入力
- 発行元は「Microsoft」なのを確認して「インストール」
VSCodeでPythonを実行してみる
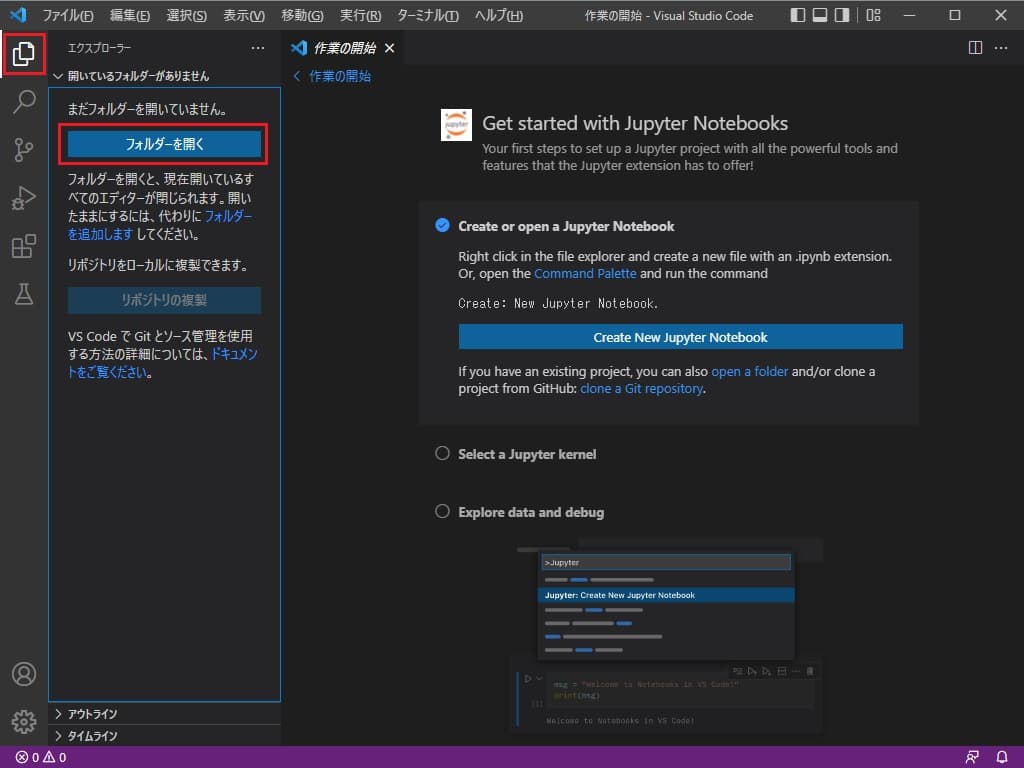
- 左側の「エクスプローラー」アイコンを選択して、「フォルダーを開く」をクリックしてフォルダを選択
※あらかじめPythonのソースファイルを格納するフォルダを作っておく
エクスプローラーのエリア内で右クリックして「新しいファイル」を選択
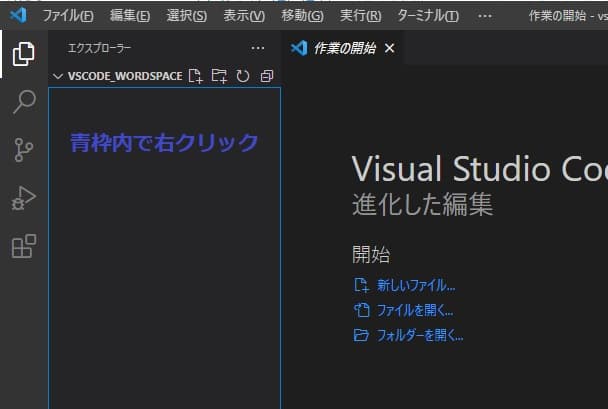
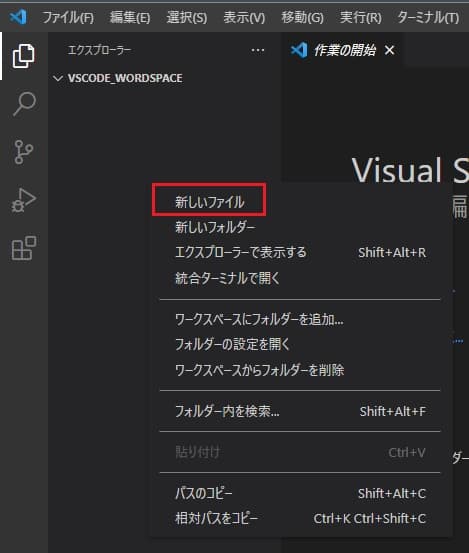
ファイル名を「~.py」にしてPythonのソースファイルを作成

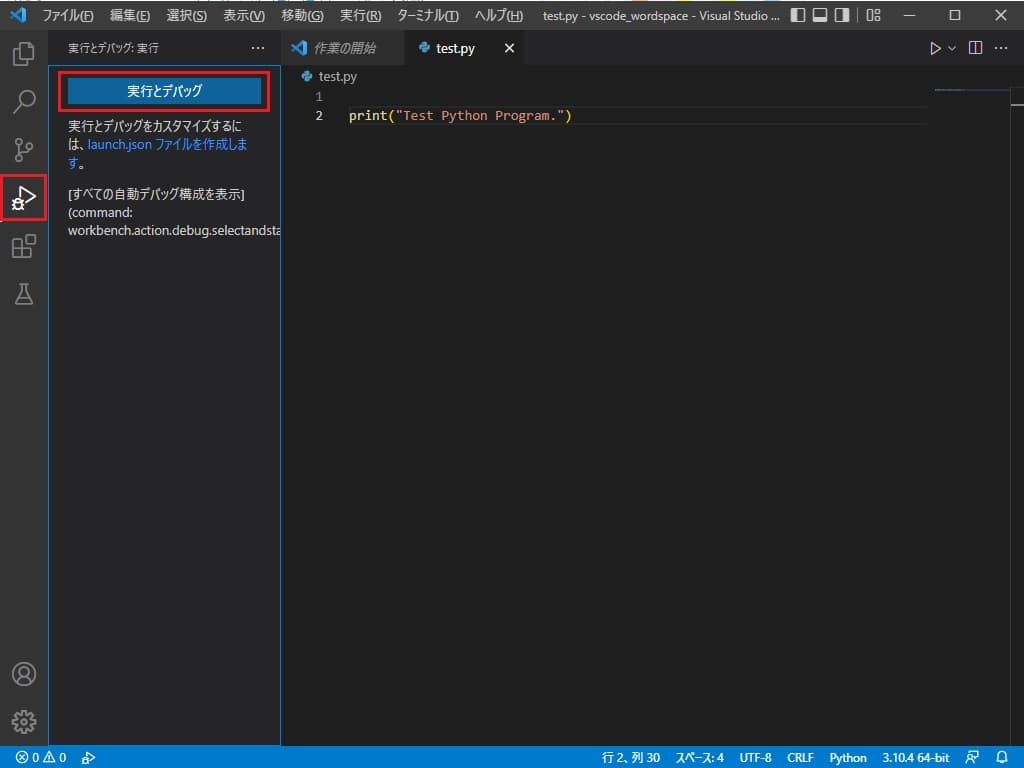
作成されたファイルにテストコードをデバッグ実行してみる。
・左側の「実行とデバッグ」アイコンを選択して、「実行とデバッグ」ボタンをクリック
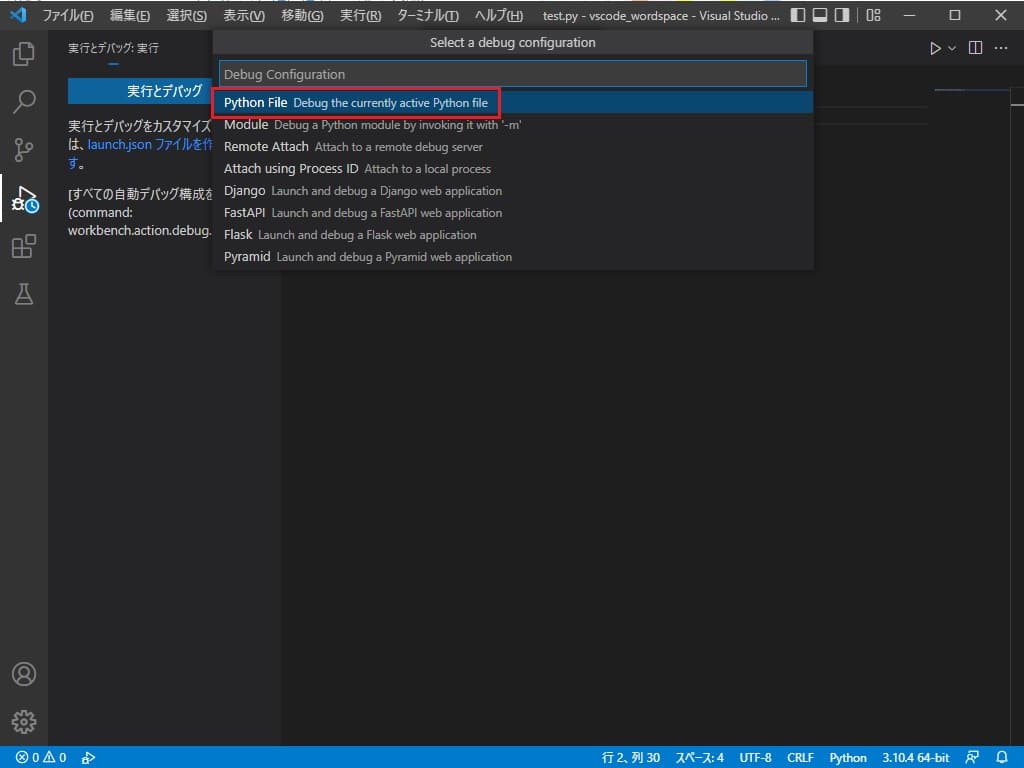
なんかリストを選択しなさいって感じになるので「Python File」を選択。
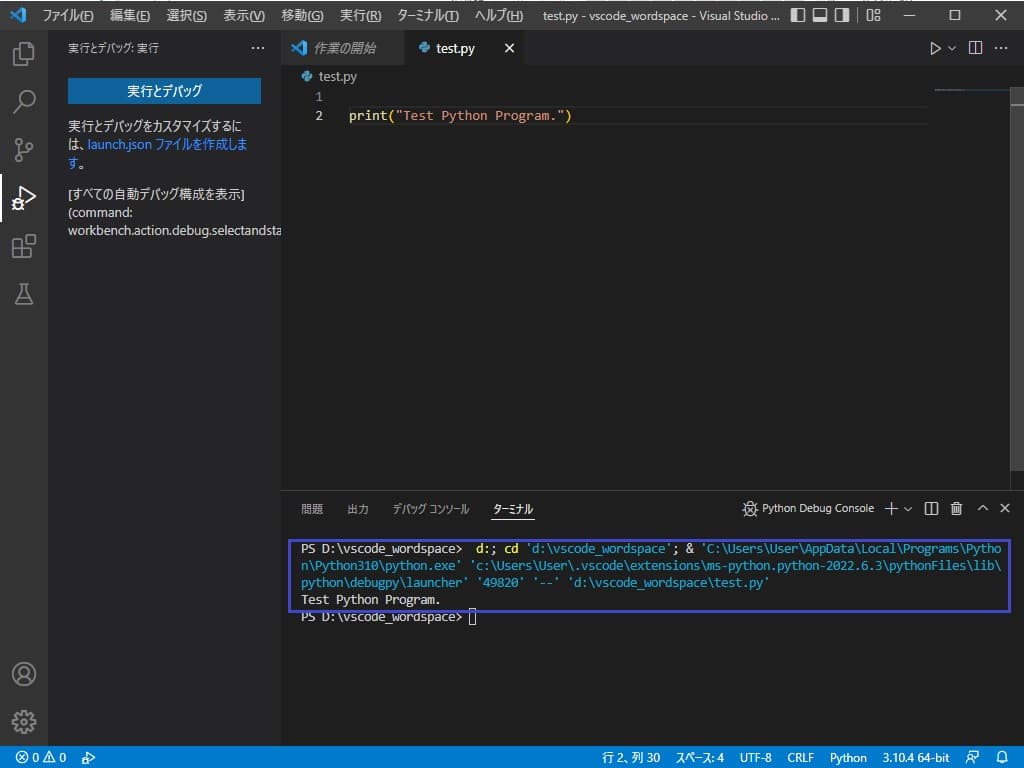
下のターミナルに実行結果が出力される!!!!!、はず。
まとめ
とりあえずここまで。
VSCodeの「実行とデバッグ」設定(launch.json)をしてみた記事はこちら、
コメント