
WordPressのプラグインとかを自由にいじれる環境が欲しくてローカルPCにインストールしてみた時のメモ。
調べてみるとWordPressの環境構築が簡単にできる「Local」というツールがあるみたいなのでそれを使ってみることにする。
サーバーをレンタルする前にWordPressってどんな感じなのか触ってみたり、本番環境と同じにしてテスト環境としても使えるらしい。便利!
実験環境(バージョン情報)
OS:Windows10
Local:6.7.2
Localをインストールしてみた
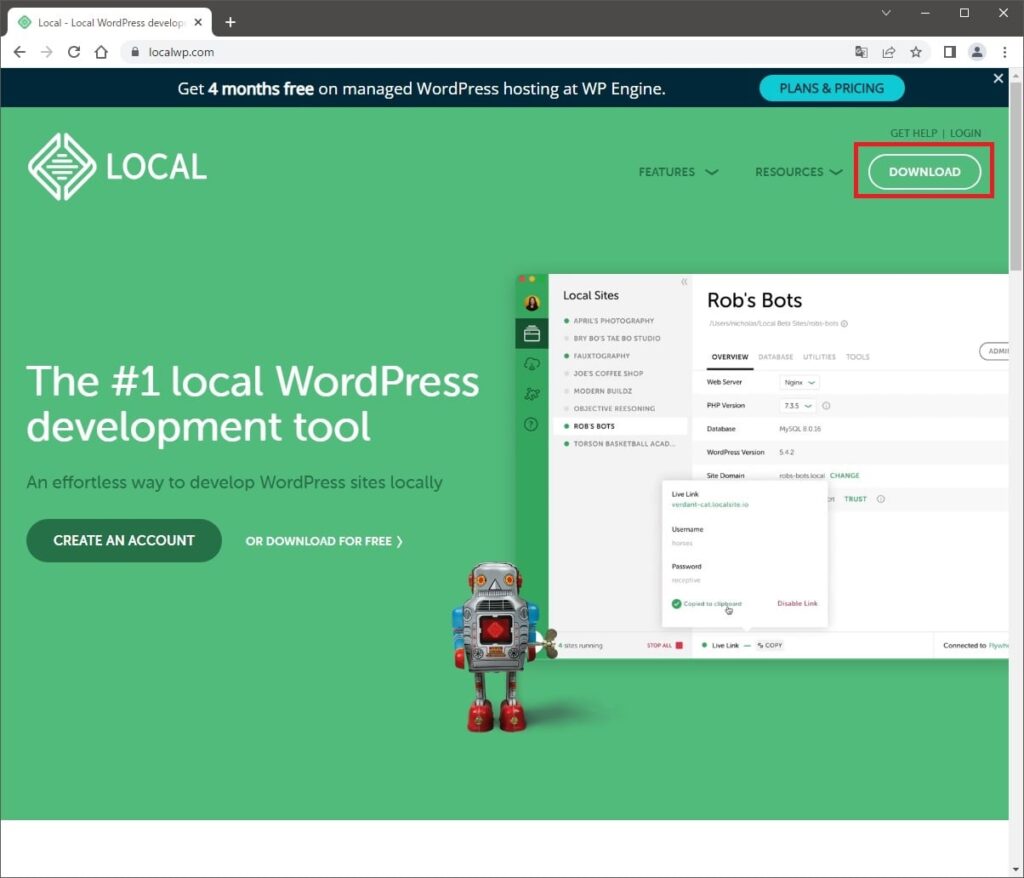
Localをダウンロードしてくる
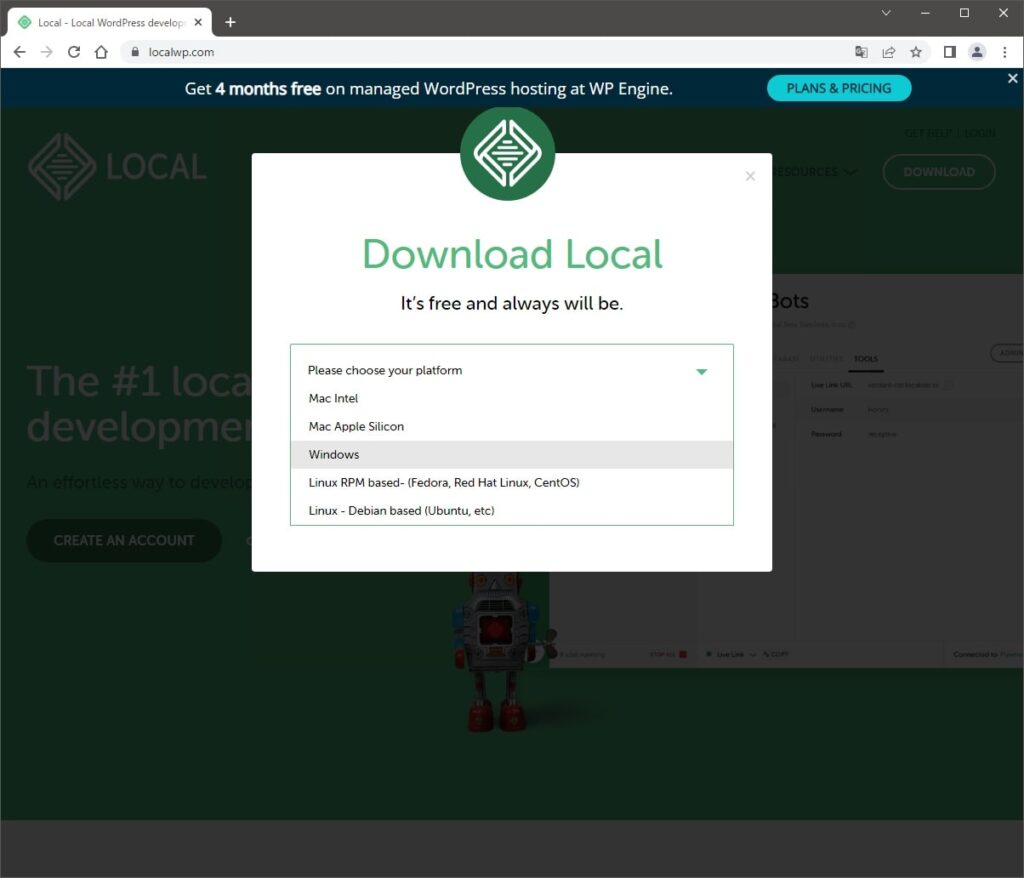
自分は「Windows」を選択した
メールアドレスを入力して「GET IT NOW!」ボタンをクリック。
名前とか電話番号は任意らしいので省略。

ページが切り替わって自動でダウンロードが始まるので好きな場所にファイルを保存する。
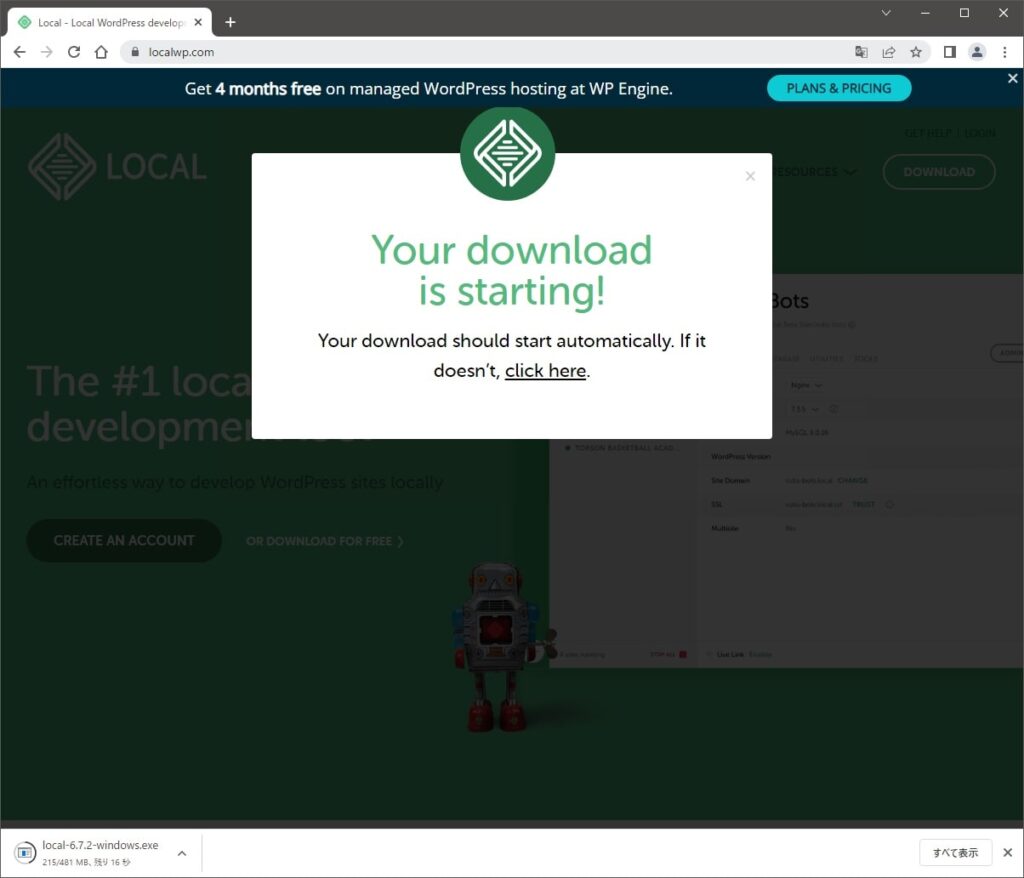
自分はデスクトップに保存した。
Localをインストールする
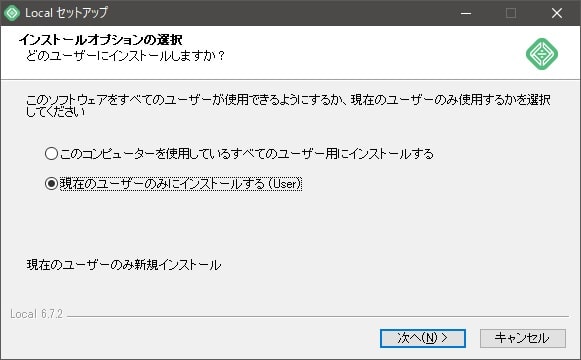
こんな画面がでてくる。
使用できるWindowsユーザの選択らしい。選んで「次へ」ボタンをクリック
自分は「現在のユーザーのみ・・・」を選択した。
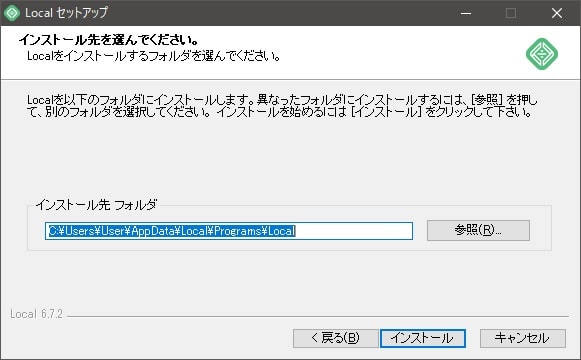
インストール先を指定できる。
自分はそのままにした。
「インストール」ボタンをクリックするとインストールが始まるので待機。

こんな画面がでてきて完了!
「Localを実行」にチェックが入った状態で「完了」ボタンをクリックするとLocalが起動する。
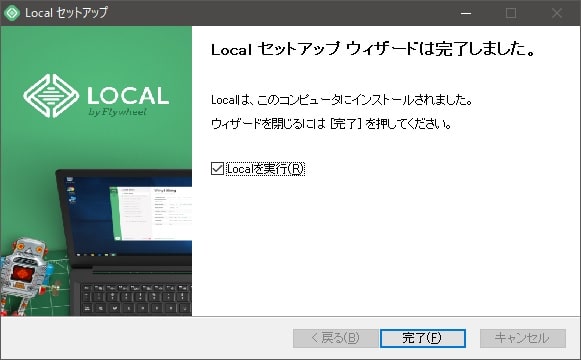
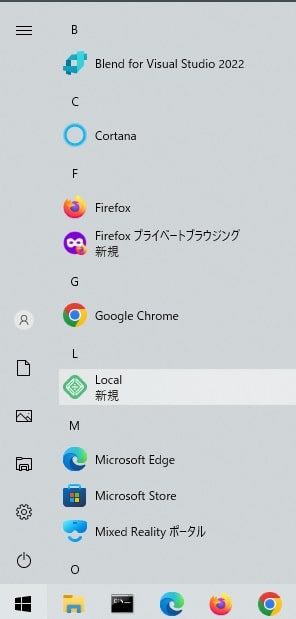
デスクトップとスタートメニューにショートカットが登録されてそこから起動できる。
テスト用サイトを作成してみる
新規サイトの作成
インストール完了時に「Localを実行」にチェックが入った状態なら勝手に起動する。
次回からはデスクトップまたはスタートメニューのショートカットから起動できる。
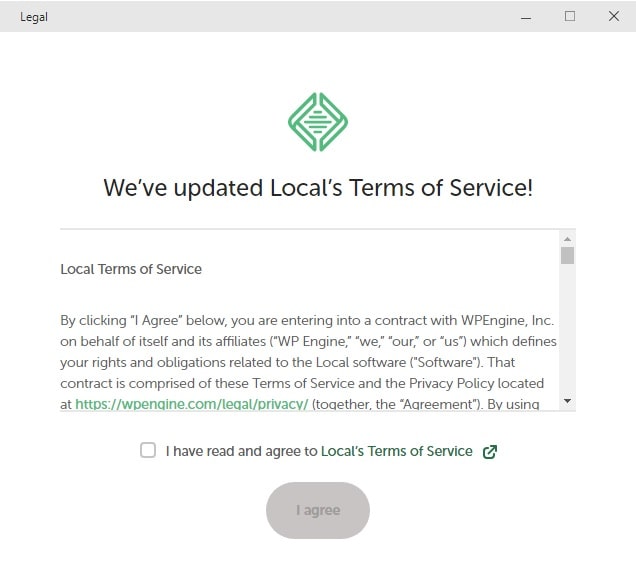
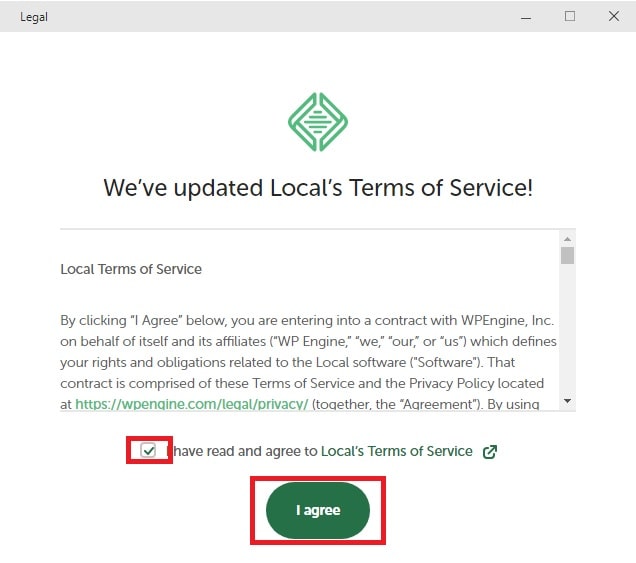
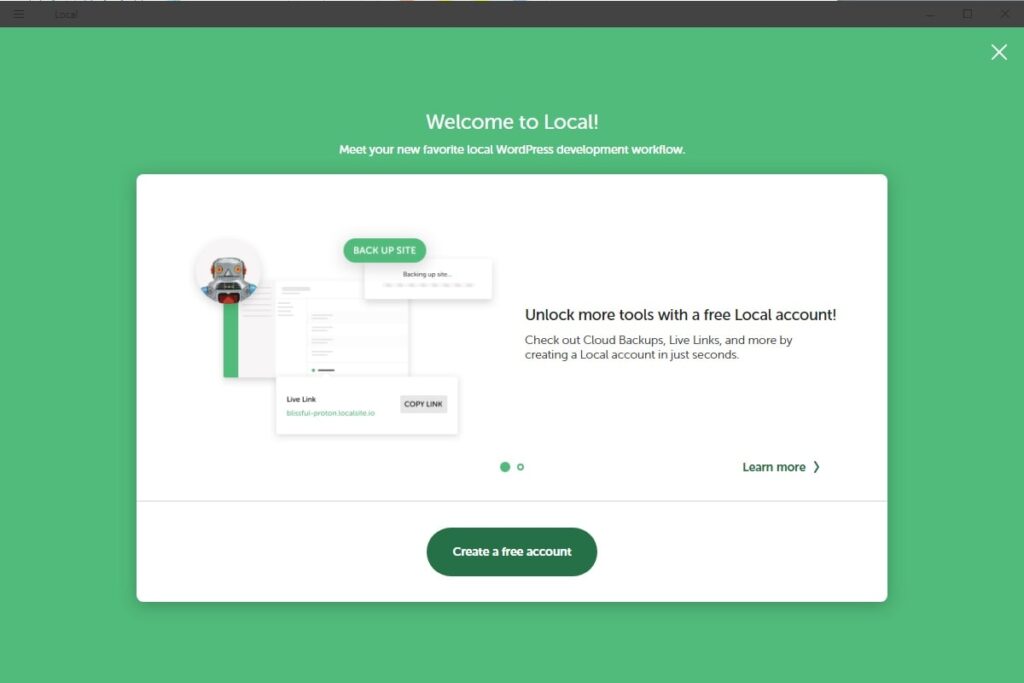
初回起動時は確認されるらしい。
無料アカウントを作成すると、クラウドバックアップとかの機能が使えるみたい。
自分は使わないのでスキップした。スキップは右上の「✖」からできる。
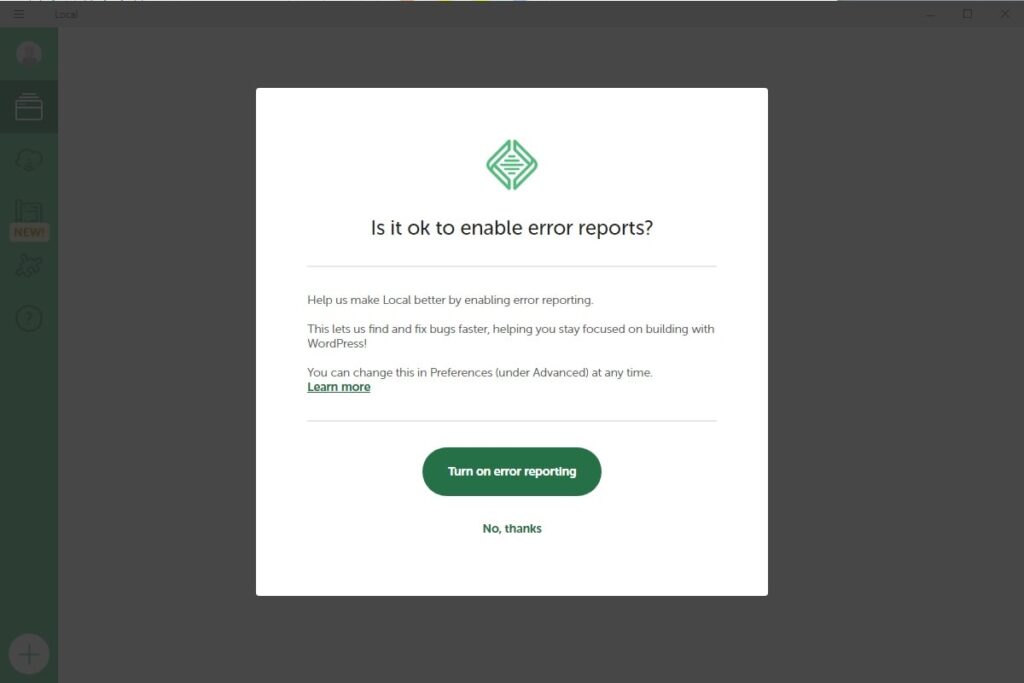
エラーレポートとか使用状況レポートを開発元に送信していいか?と聞かれるのでお好みで。
自分はどっちも「No, thanks」にしてみた。
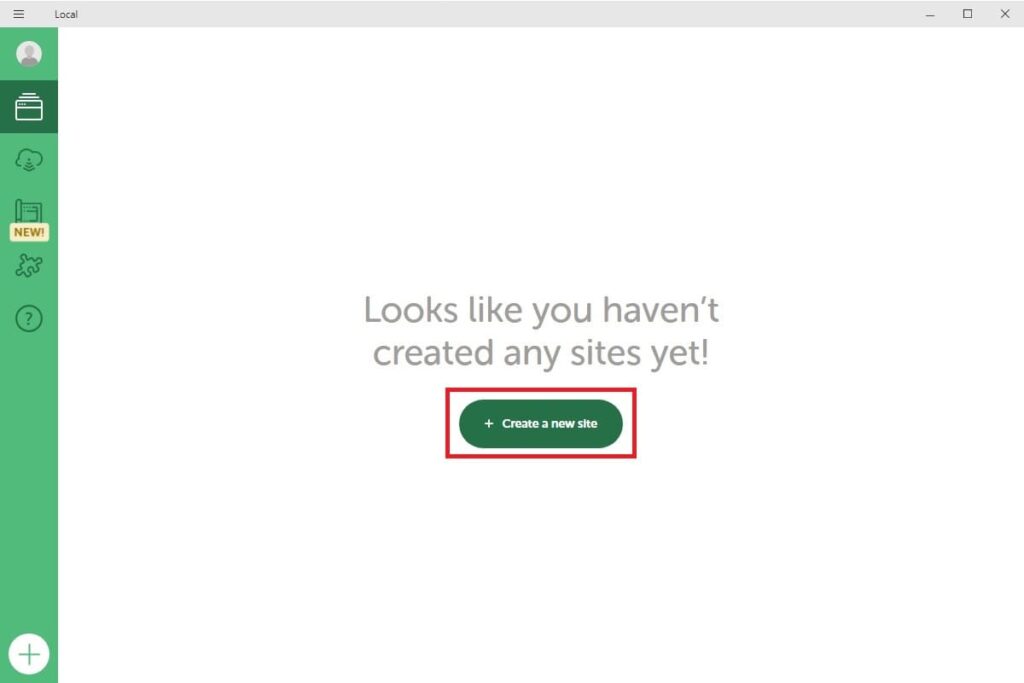
STEP4までで初回の設定が完了。ここからが新しいサイトの作成。
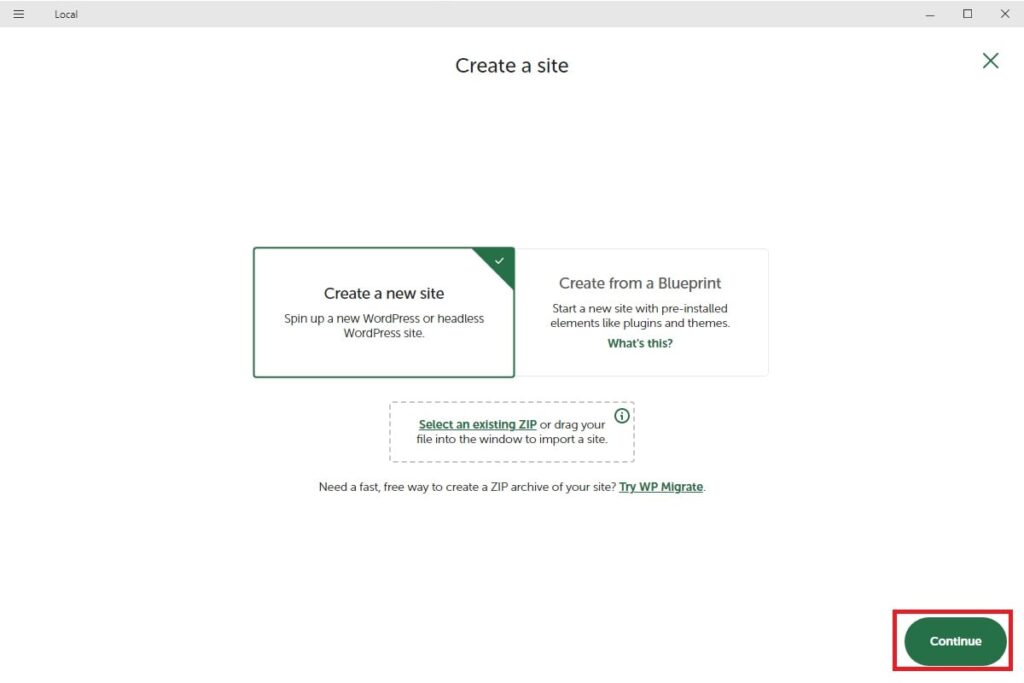
「+ Create a new site」をクリック
これはよくわからなかったのでそのまま「Continue」
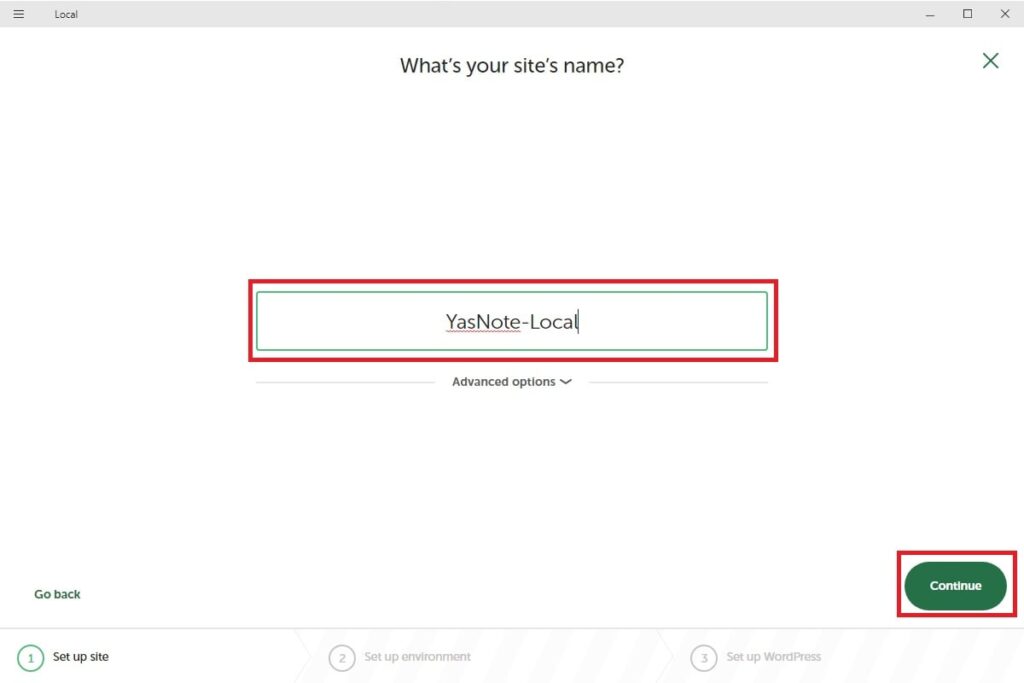
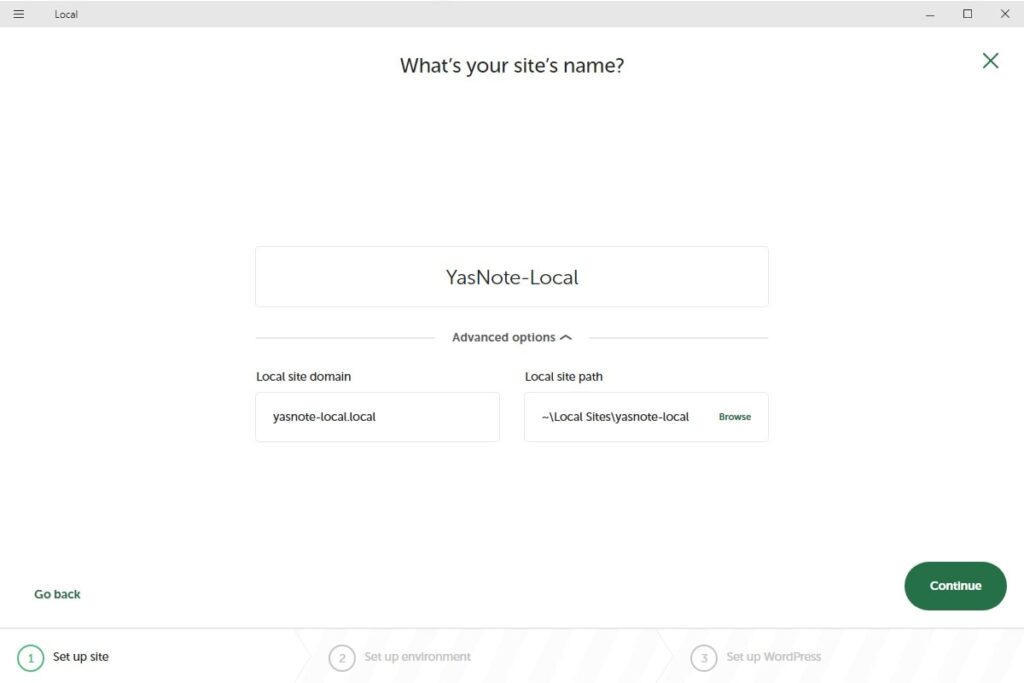
サイト名を入力して「Continue」
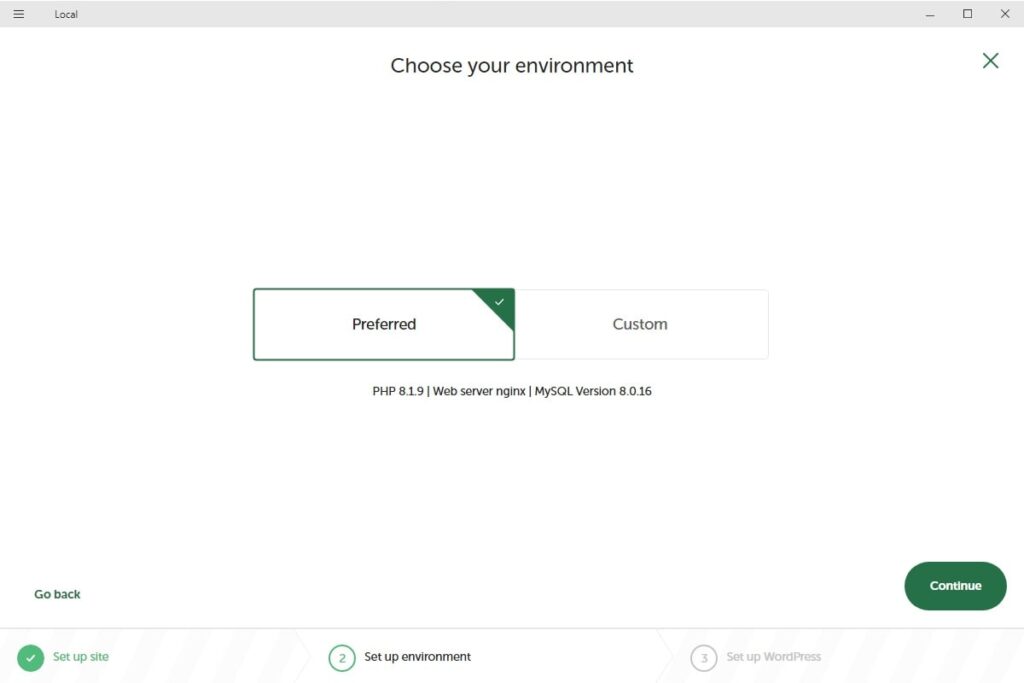
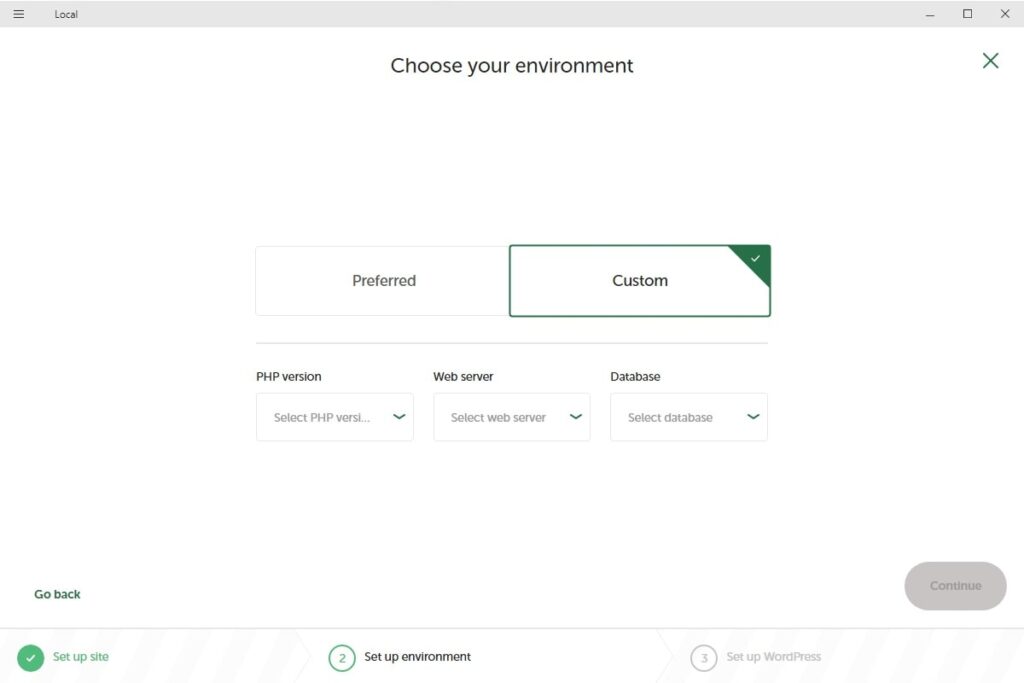
作成するサイトのPHPやMySQLのバージョンが選択できる。
自分は「Preffered」(おすすめ設定?)を選択。
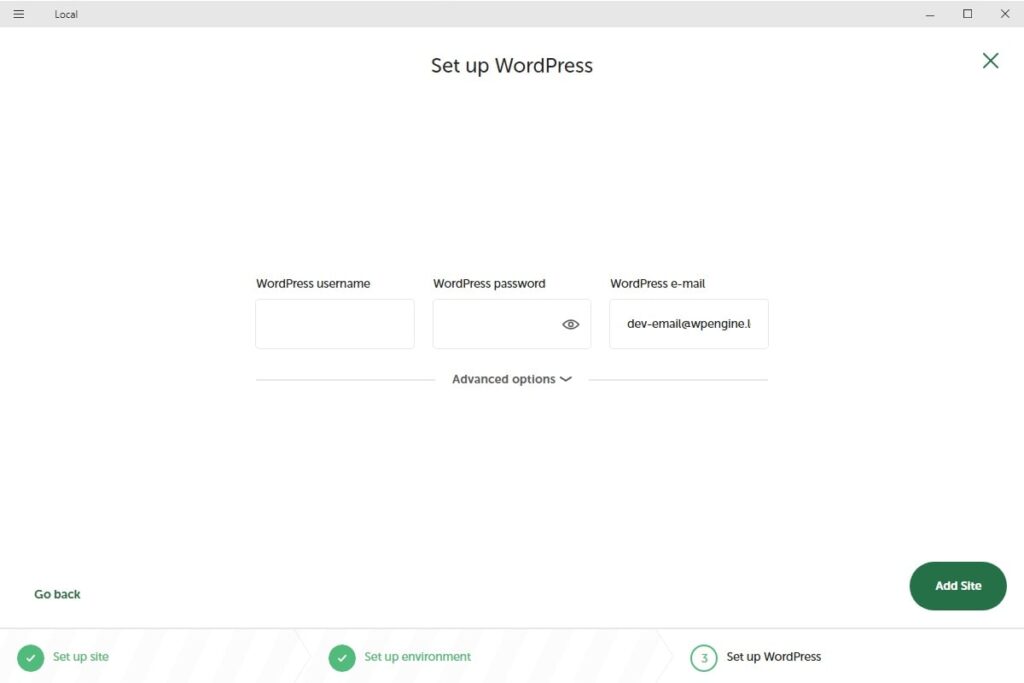
WordPressで使うユーザーのユーザー名、パスワードを入力して「Add Site」をクリックするとサイトの作成が開始される。
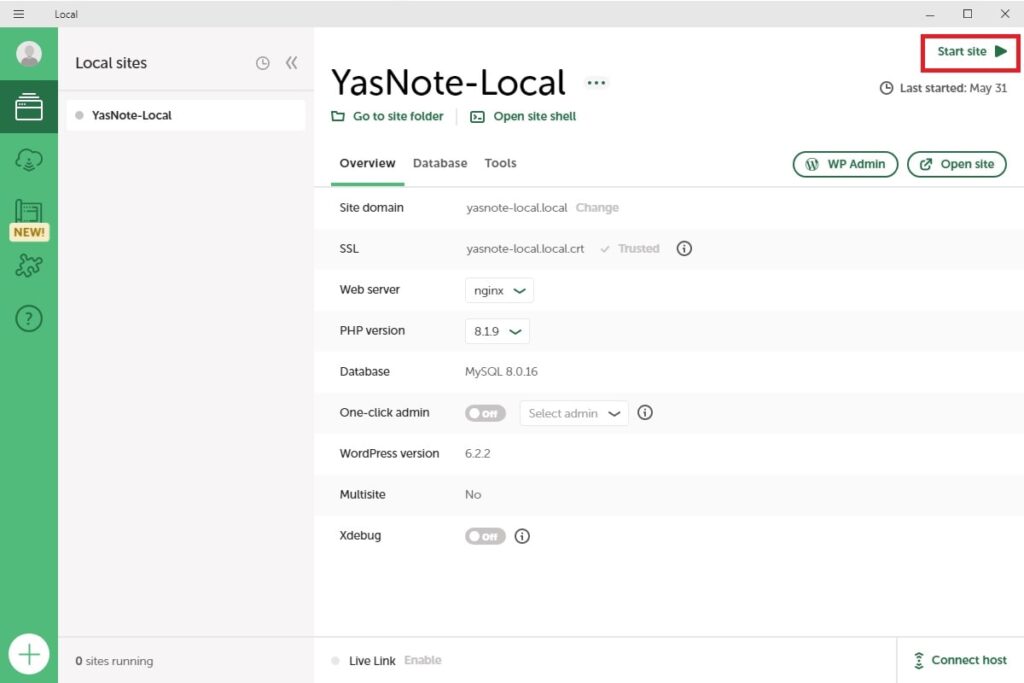
完了するとこんな画面がでてくる。
これでWordPressが起動している状態になっている。
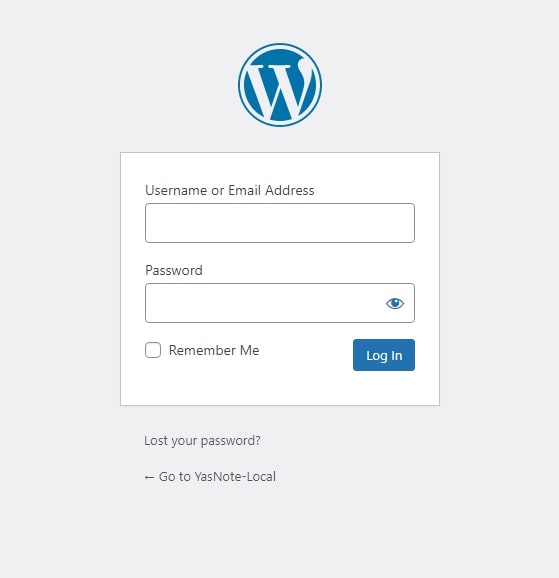
右上にある「WP Admin」ボタンを押すとブラウザが起動しWordPressの管理画面が表示される。
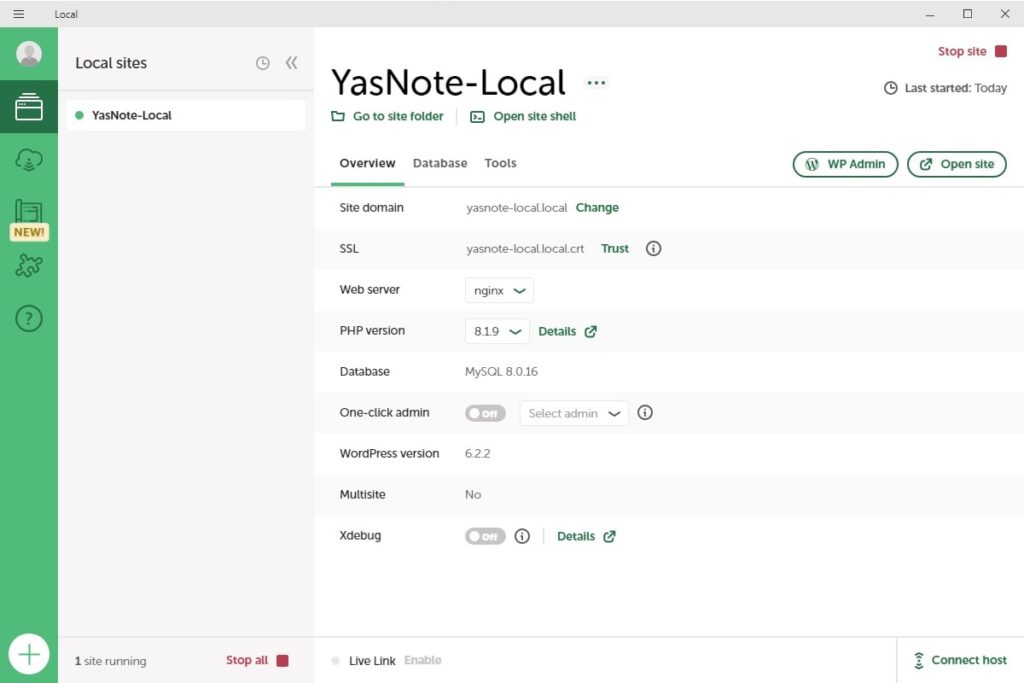
STEP8で入力したユーザー名、パスワードで管理画面ログインできる。
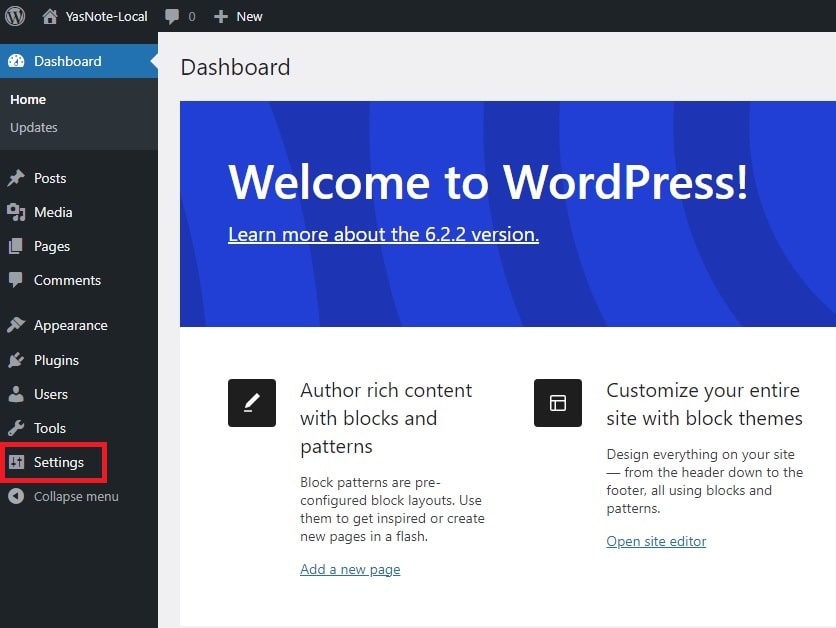
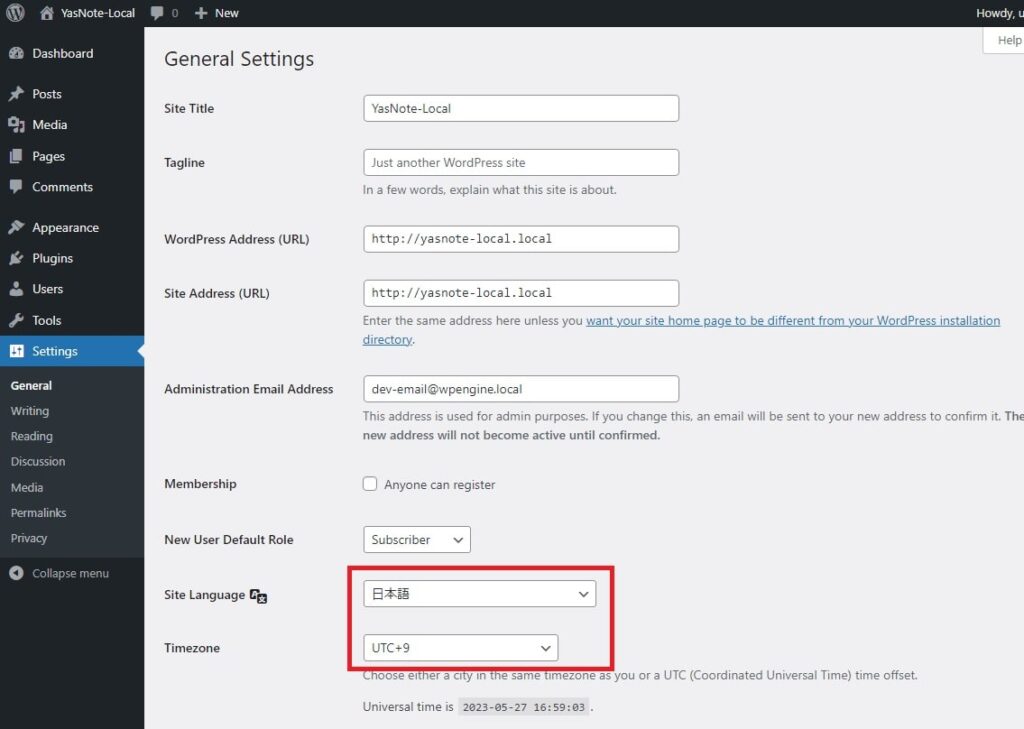
WordPressの日本語化
WordPressが英語で使いにくいので使用言語を日本語を設定する。
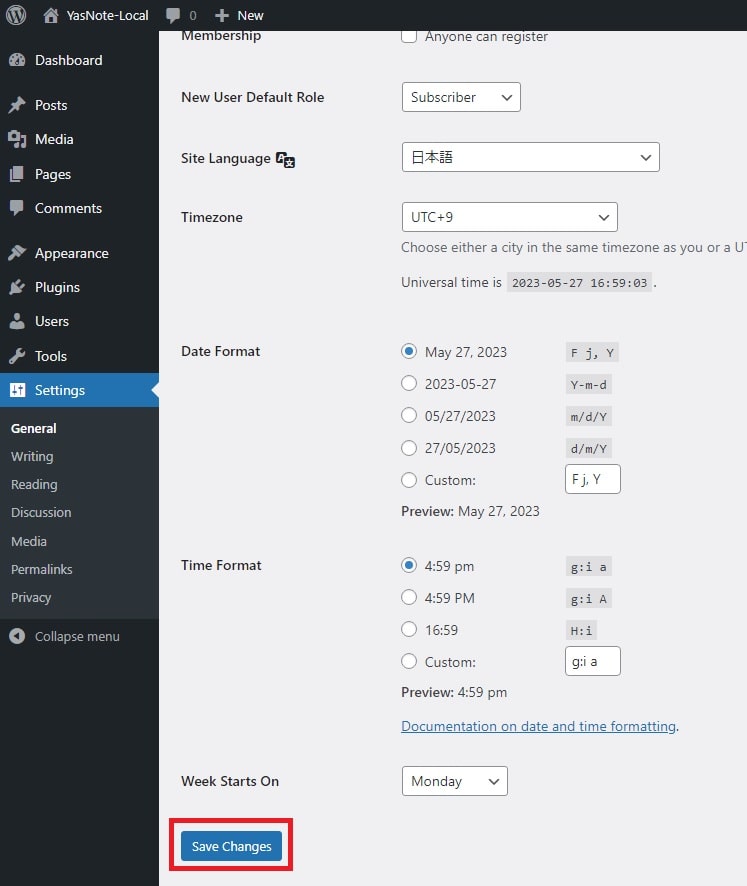
TimeZoneも日本時間しておく。UTC+9が日本時間。
変更したら下の方にある「Save Changes」ボタンをクリック
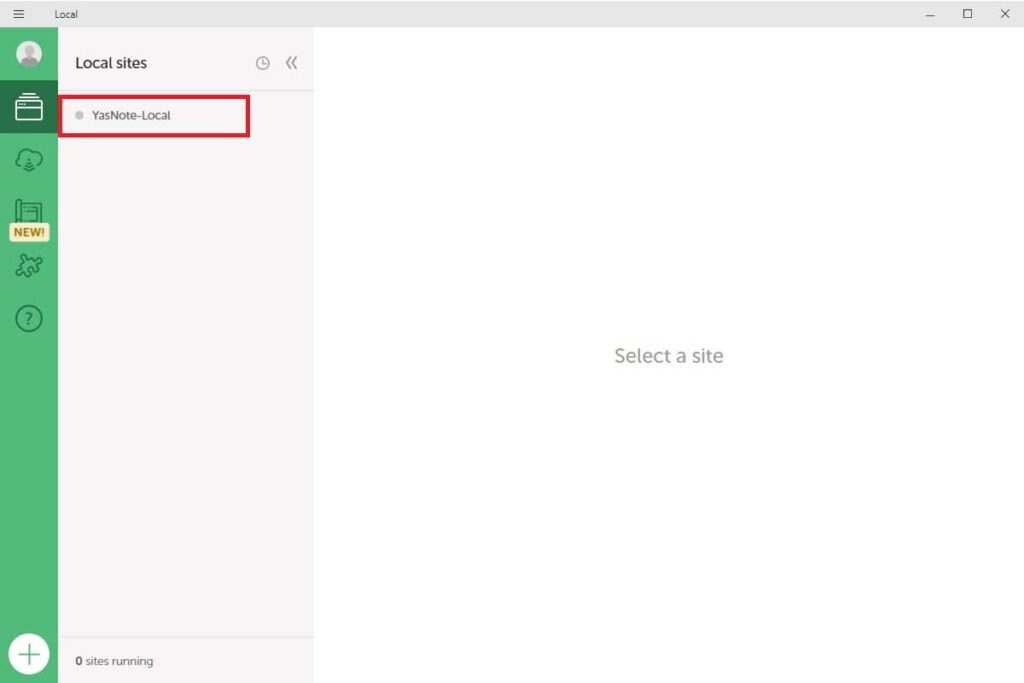
次回からの起動方法
デスクトップまたはスタートメニューのショートカットを実行する

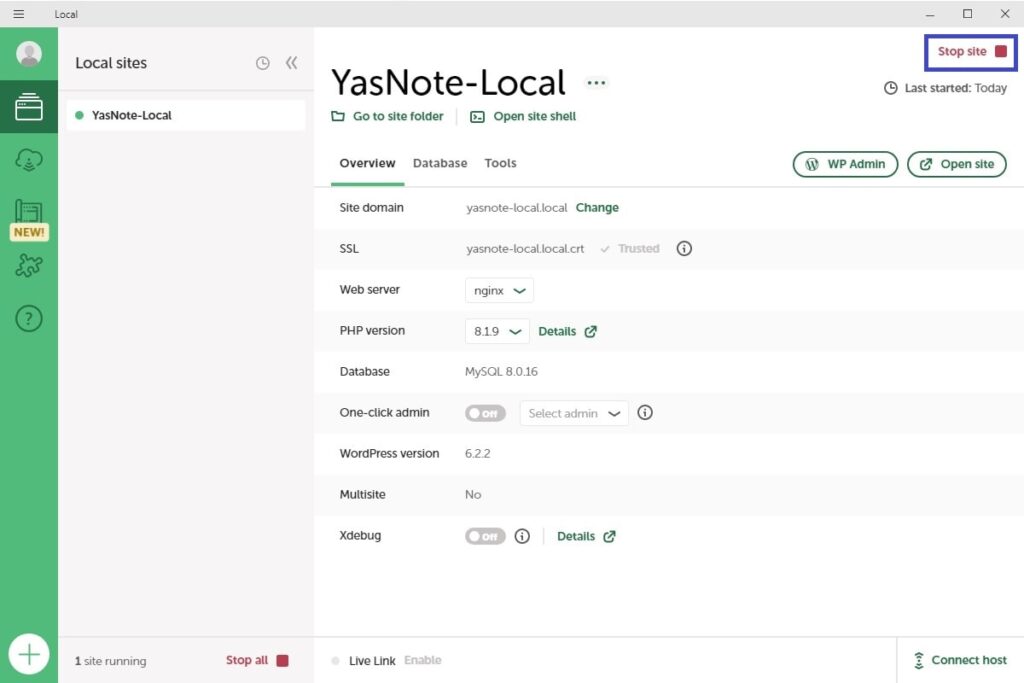
選択するとサイト情報が表示される
起動が完了すると、「Stop Site」に変わる。
これでブラウザで管理画面とかにアクセスできる。
コメント